



How To Fix InterLink Facial Verification Errors – PoP Scan Guide
Sep 09, 2026
Technology
Seeing the message “Verification failed” during InterLink facial verification? If you're looking for how to fix InterLink verification failed, the issue is often caused by simple factors rather than your account. Lighting conditions, face position, camera angle, or temporary scan errors can all affect the verification process. This guide provides clear, practical steps to help you complete Proof of Personhood (PoP) successfully and become a verified Human Node.
Why does InterLink need facial verification?
InterLink uses facial verification as the core of its Proof of Personhood (PoP) system. The goal is simple but powerful: ensure every account belongs to one unique, living human being. This design protects the network from bots, fake accounts, and Sybil attacks while remaining privacy-friendly. Your face is processed on-device. The system performs liveness detection and deepfake checks, then converts the data into a non-reversible biometric hash protected by zero-knowledge proofs. Only this cryptographic proof is used on the network; raw facial images are not stored or shared. However, passing the PoP scan requires the right conditions. Below are the most common errors and how to resolve them.
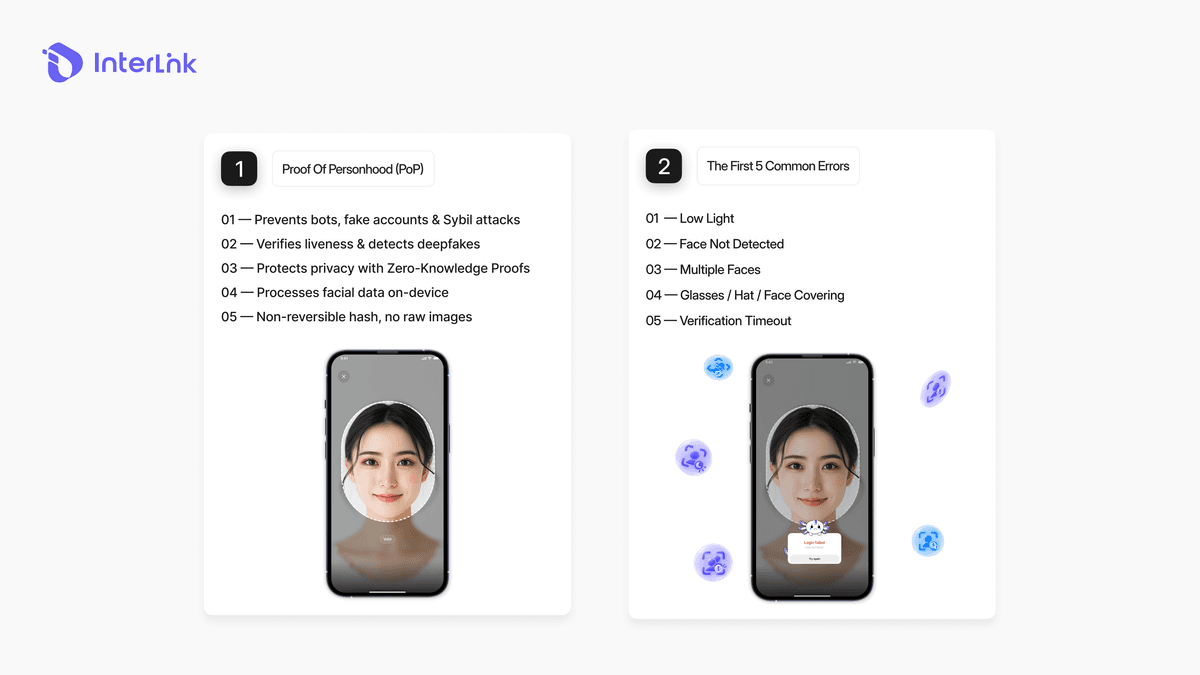
Common facial verification errors and how to fix them
Most “Verification failed” cases fall into one of the situations below. Identify the problem and apply the matching solution.
Error 1: “Low light”
The camera cannot see your face clearly because the environment is too dark.
- Move to a well-lit area (natural daylight or a bright indoor light works best).
- Avoid strong backlights (do not stand in front of a bright window).
- Turn on an extra light source if needed and try again.
Error 2: “Face not detected”
The system cannot locate your face inside the frame.
- Hold your phone at eye level.
- Keep your entire face fully inside the oval or square guide.
- Move slightly closer or farther until your face fits the frame properly (usually 30–50 cm away).
- Keep your head straight and look directly at the camera.
Error 3: “Multiple faces”
More than one face is detected in the camera view.
- Make sure you are the only person in the frame.
- Ask others to step out of the camera view.
- Check that there are no photos, mirrors, or reflections showing another face.
Error 4: “Glasses / Hat / Face covering”
Objects are covering important parts of your face.
- Remove sunglasses, hats, masks, or any face covering.
- If you wear regular glasses and the scan keeps failing, try removing them.
- Keep your face clear, natural, and free of heavy makeup or hair covering key features.
Error 5: “Verification timeout”
The scan took too long and the system stopped.
- Start the process again and complete the required movements (blink, turn head, etc.) promptly within the time limit.
- Follow the on-screen instructions carefully.
- Ensure your internet connection is stable during the entire scan.
Tips for successful facial verification
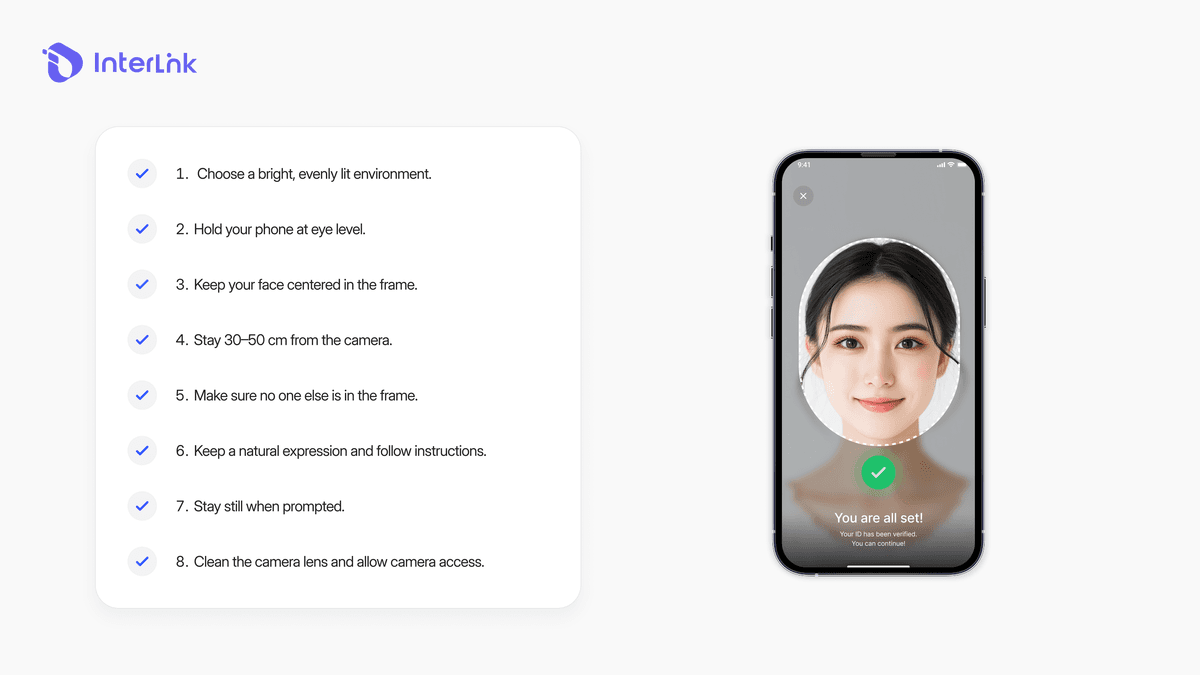
Follow these practical tips to increase your success rate on the first or second try:
- Choose a bright, evenly lit environment with soft natural or indoor light.
- Hold the phone at eye level and keep your face centered in the guide.
- Maintain a distance of about 30–50 cm from the camera.
- Remove anything that covers your face (hat, sunglasses, mask).
- Keep a natural expression and follow the on-screen movements slowly and clearly.
- Stay still when the system asks you to pause.
- Make sure no one else is visible in the camera frame.
- Clean your camera lens and grant the app full camera permission.
What if verification keeps failing?
If you have tried the solutions above several times and still cannot pass:
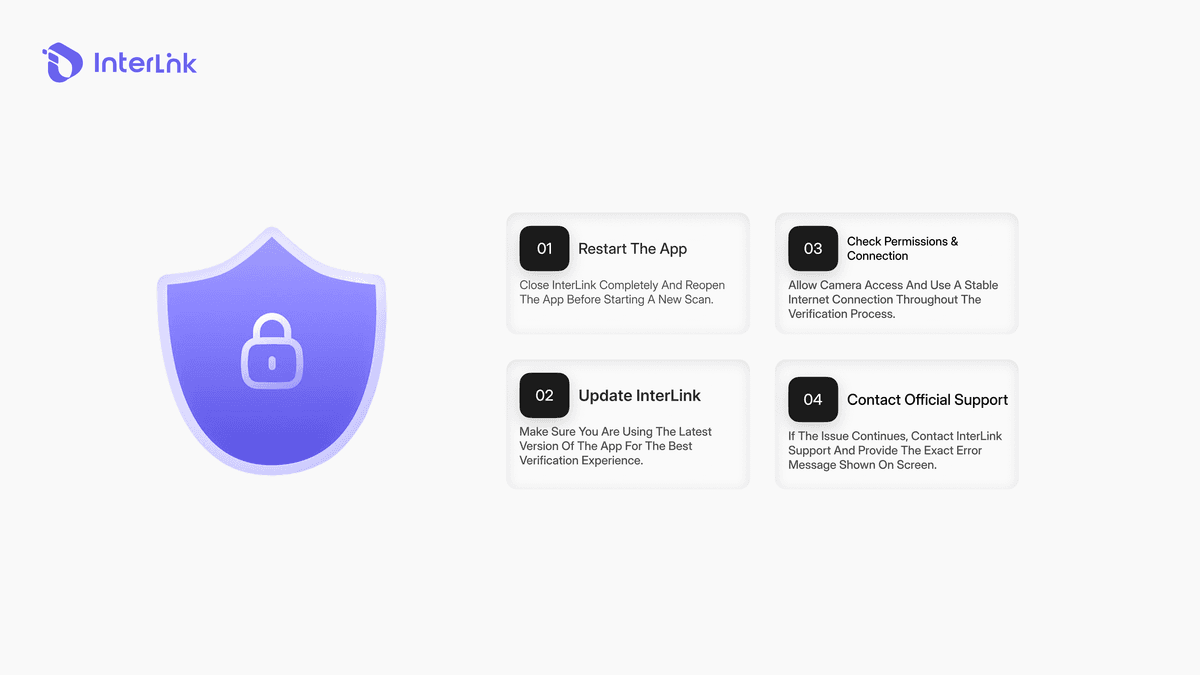
- Wait a few minutes and try again in better lighting.
- Restart the InterLink app or your phone.
- Update the app to the latest version.
- Try on a different device if possible.
- Contact official InterLink Support through the app or verified channels and describe the exact error message you see.
Conclusion
Facial verification is a key step to activate your InterLink ID and start participating as a verified Human Node. Most “Verification failed” errors are caused by simple environmental factors and can be fixed quickly by improving lighting, face position, and following the on-screen guidance. Take a moment to prepare the right conditions, then complete the scan calmly. Once you pass, you can fully access the network and continue building your role in the Human Network through the InterLink ecosystem developed by InterLink Labs. For users exploring a free mining app, completing facial verification is also an important step toward accessing the platform’s verified features.
Disclaimer: This guide is for educational purposes only. Always use official InterLink channels and never share your private information or recovery details with anyone. Want to understand how InterLink’s economy really works?
Read the full guide:

